Do you think paying $599 for the Starlink hardware is all you need to do to complete the setup?
Well, you have to consider the mounting options as well.
That’s because the mount doesn’t come with the hardware package.
There are several mounting options for the Starlink dishes. It’s always best to choose the exact mounting for your existing roof or wall type. Other factors include obstructions, roof or wall angle, and your budget. When you combine all of them, you get the perfect setup or mounting for your Starlink dish.
Today, I am going to introduce several Starlink mounting options to you, including the official ones and some aftermarket options.
Keep reading, and I am sure you will be able to choose the best option for you.
Check out Starlink Internet Review here, in case you need it.
Best Location For Mounting Starlink Dishes
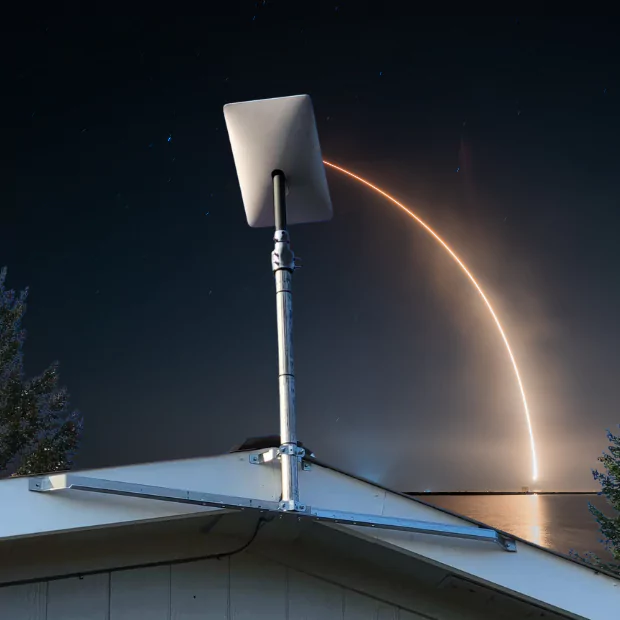
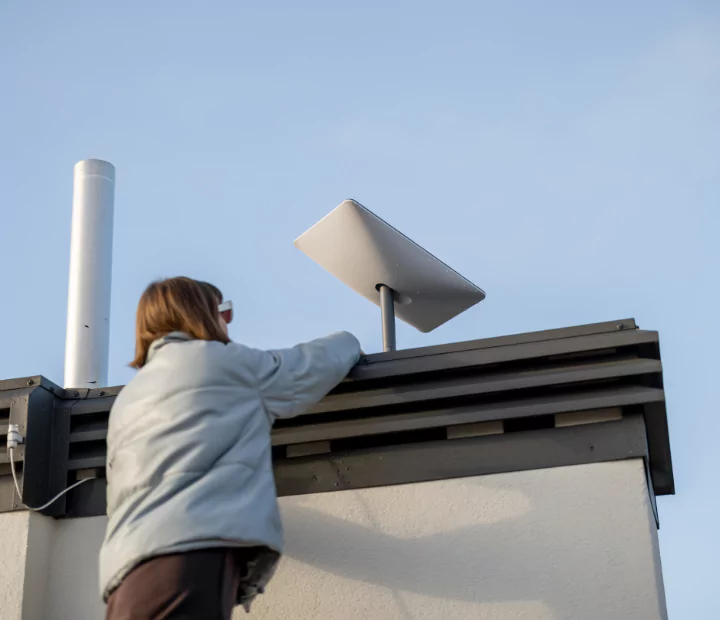
To get the best output from your Starlink dish, you must put it in the right place. It’s best to set the dish at the top of your house. Your roof is the best and highest place in your house.
To get the best output from your Starlink dish, you must put it in the right place. It’s best to set the dish at the top of your house. Your roof is the best and highest place in your house.
The peak of your roof is always the most suitable spot for mounting the Starlink dish. Do you know the reason? That’s because, at the peak, there’s a lesser chance of any obstruction, and the dish will find the satellite easily.
You can mount it on the ridge, on the roof surface, or on the chimney. If tall trees or buildings surround your roof, you can either use a pole mount or set it on a tower instead.
Obstructions Issues
Are you worried about the obstructions for the Starlink Dish? The Starlink app will help you find the obstructions.
First, you need to install it on your phone. This app can help you find information about obstructions in two different ways. First, you can find them using your phone camera. To do this, you need to stand at the point where you are willing to set the dish. Then, you can use the obstruction detector or finder. This will show whether it has a clear view of the sky. When you use this, you will come to know about the obstructions around you.
The second method is my recommendation. In this method, you set the Starlink dish to a possible location with the existing mounting base and power it up. Next, wait at least half a day to help the app collect data. After that, the obstruction map on the Starlink app will give you a clear idea of all the obstructions.
Best Official Starlink Mounting Options
Starlink itself has built some mounts as mounting options for their dishes. These mounts are available in their online store. However, depending on your mounting location and other facts, you can choose any of these Starlink official mounts:
Options: 1
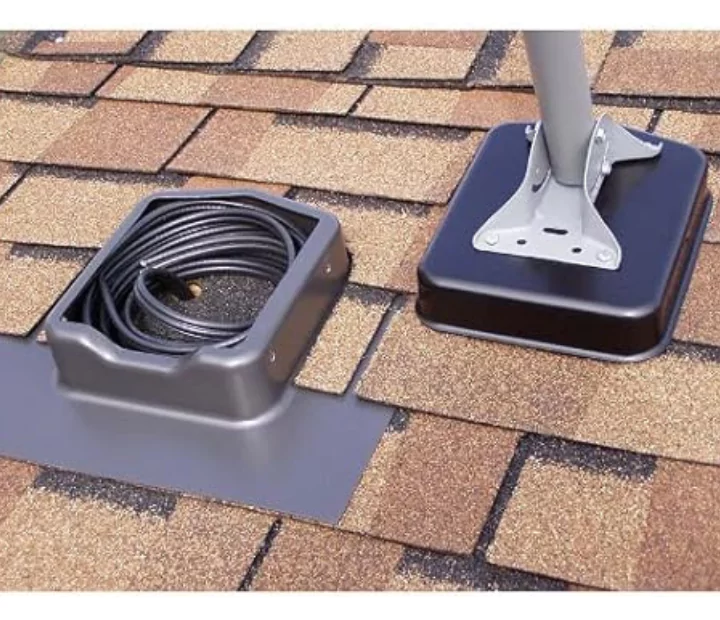
Starlink Flashing Mount: Best for Mounting On Metal Shingles

The Starlink flashing mount is straightforward to install, and you can do it yourself. It’s actually an adapter that is used with a pivot mount.
When you buy the whole kit, you will get a template. This will help you understand how you can install it. If you have a utility knife, the job will become easier for you; just cut some of your roof’s material to install the mount.
Next, you can screw the pivot mount (comes with the kit) to the flashing mount. The last task that remains is installing the dish on it.
Options: 2
Starlink Pivot Mount

The Starlink Pivot Mount is another official mounting option from Starlink. This pivot mount is suitable for setting up directly on your roof unless you have metal shingles.
Attaching this pivot mount to your roof is very simple; all you need are a pair of lag screws. Inside the pivot kit pack, you will get a mast pipe, an adapter plate, and the installation hardware.
The good thing about this mounting option is that you can always set the angle of the mast. This means it is usable on any roof.
Options: 3
Short and Long Wall Mounts

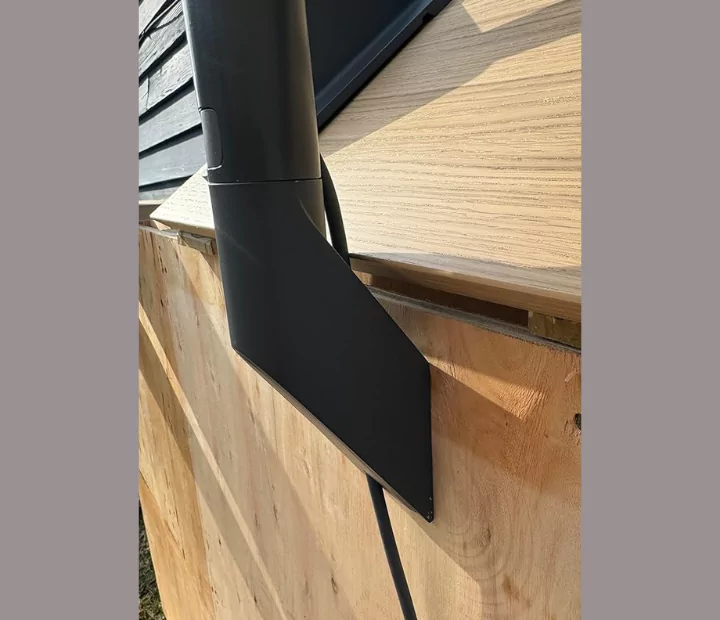
The short wall mount and the long wall mount are two popular official Starlink mounting options. If you have a fascia board, you can easily install these mounts on your exterior walls. When you don’t feel like installing the mount on your roof for some reason, long or short wall mounts can be convenient.
So, what comes with these mounting kits? Well, you get a kit and the installation hardware with each mount. You can slide the mast of your dish inside the mount and lock it for safety.
The long wall mount is perfect when you have a larger roof shade or overhead. On the other side, the short wall mount option is great for installing on the fascia.
Options: 4
Starlink Pipe Adapter

If you already have a mount or pipe on your roof, things will be easier for you. All you need is a Starlink pipe adapter, which is a perfect mast mount for installing your Starlink dish.
The metal cuff or locking system of the pipe adapter goes over the existing pipe. You will get some screws to attach them together. No doubt, it’s one of the cheapest and simplest Starlink mounting options.
Options: 5
Starlink Ground Pole Mount
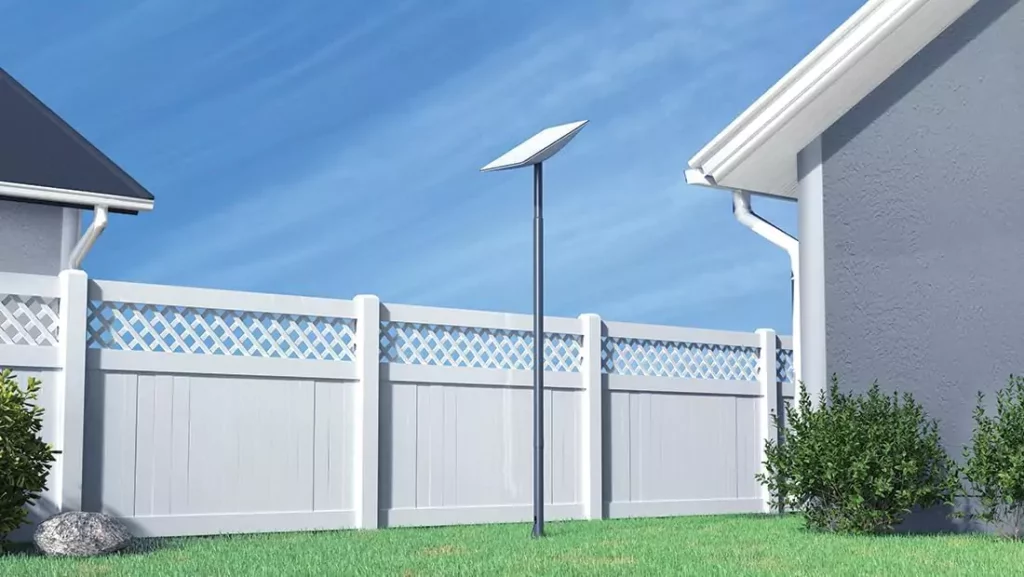
The Starlink ground pole mount is a mast that you can set into the ground. But I would suggest you choose this option when you don’t have any other options. That’s because there are some cons to this option.
The main reason I said that is it’s only 5 feet high. At that height, you cannot expect to get past the obstructions around you. On the other hand, the chances of stealing it from that height are very high.
Another drawback of this mounting option is taking the cable home from the mount. The most brilliant option is to bury the cable, but unfortunately, the cable is not suitable for burying.
Just think of this: how much labor and effort do you have to give when you have to install it on concrete ground?
Options: 6
Ridge Mount

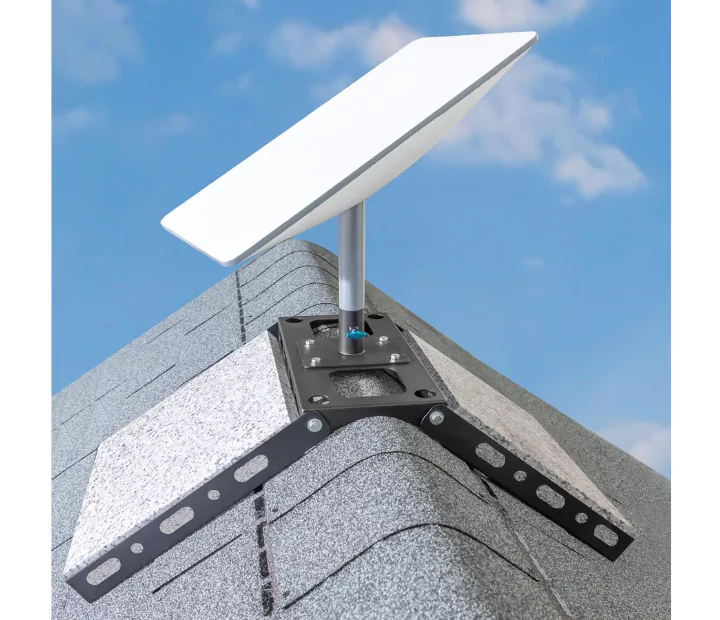
The Starlink ridge mount is the non-penetrating mounting option in the official Starlink mounting lineup. It can be easily set at the highest point of your roof, which is generally the ridge line.
With this mount, you don’t need to drill holes in your roof. It can hug the ridgeline so tight and stays strong with a lot of grip there. The cable can go through the hole in your wall instead of the roof.
The base of the ridge mount is foldable, and you can place it on the ridge and fold the sides to make it stable. You can also put it in an upright position by wide-opening the base. The dish must face upward, and you must adjust it like that.
But what about making the mount stable? Well, you will also get some ballast weights in the package. Don’t forget to set them on either side, or the mount will be blown away in a strong wind.
Options: 7
Wedge Mount
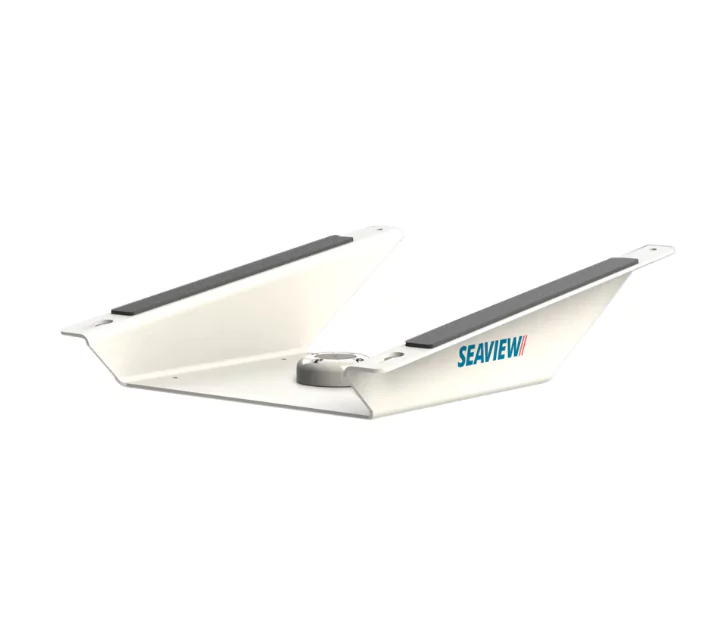
The Stalink wedge mount is specially designed for boats and ships. This mounting option is best while the vessel or vehicle is moving.
Well, you only get this wedge mount when you are subscribed to the “Boat” package. If you want it for other packages like “Roam,” you may need to buy it separately.
Options: 8
Starlink Volcano Mount
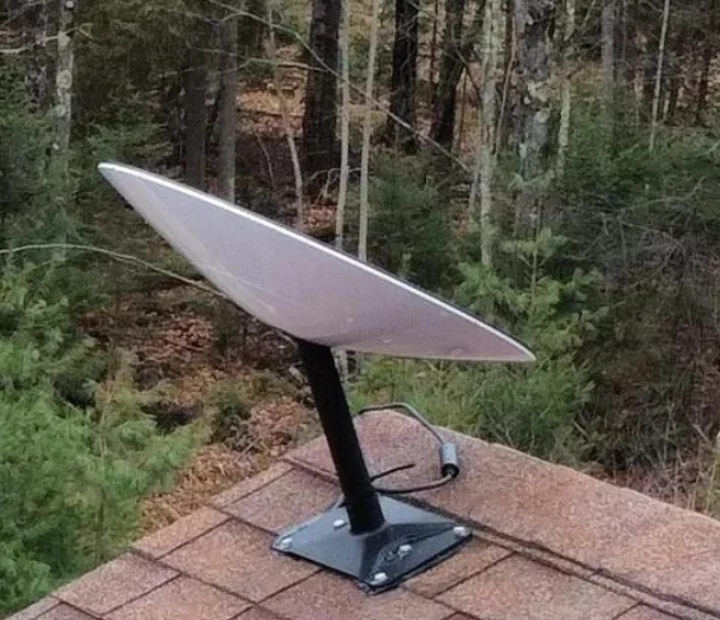
The Starlink Volcano Mount is basically another version of the Starlink Pivot Mount. You already know about the pivot mount.
You might have heard this name, but there’s no such product name on the Starlink product list. It’s possible that the company gave the name earlier but removed it later for a more precise concept. So, the Volcano mount is nothing but a Starlink pivot mount, and that’s cleared up all the confusion, I guess.
Other Starlink Mounting Options: 9-13
Aren’t you satisfied with the mounting options provided by Starlink? Well, there are some other third-party mounting options as well. They have pretty good designs and other facilities. Let’s take a look at some of those other mounting options:
9. Tripod Mounts:
This mounting option is suitable when you are traveling. You can also use it on flat roofs. But when you set it on the roof, you must secure it to the surface.
10. J-Mounts:
This mounting option doesn’t need any additional mounting. It is cheap and requires almost no maintenance. The Starlink long wall mount is basically a J-mount.
11. Chimney Mounts:
You can thank your luck if you already have a chimney in your house. This will give you some additional height. You can set any long wall mounts on your chimney with the help of a Starlink pipe adapter.
12. Starlink Mounts for RVs:
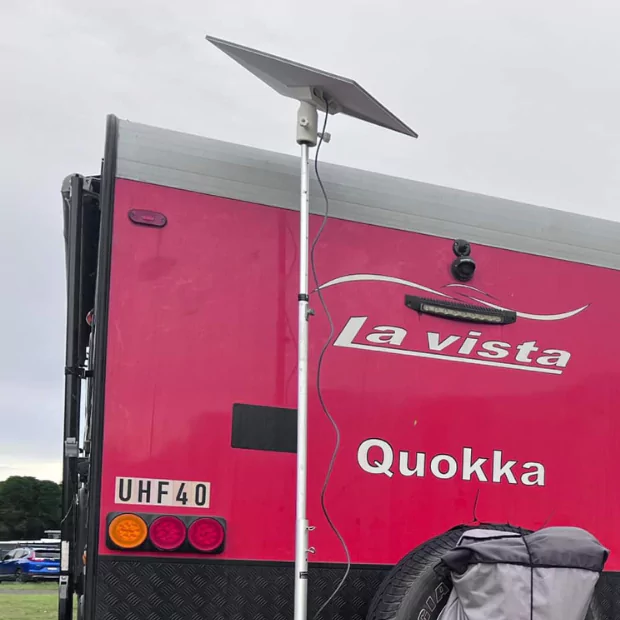
If you wish to use your Starlink connection on your RV or van, you need to go for these mounting options. You need to have a suitable Starlink pipe adapter for your dish model, and you can set any of these mounts on your RV.
13. Tower Mounts:
Do many long trees surround your house? You might need a tower mounting option to clear these obstructions. This is a great option for setting the Starlink dish so high, but it is a costly mounting option, for sure.

