Have you ordered Starlink for yourself?
And now you are wondering, how you can set it up and install it?
If the answer is yes, you will be glad to know you are not alone in this.
And there is absolutely no need for you to get puzzled here.
We are here to guide you step by step and easily make you understand how you can set up and install your Starlink.
Make sure you follow our instructions exactly, and you will be good to go with your Starlink internet without any hurdles.
Related:
So, let us get right into it.
But, before that, please make sure you have downloaded the Starlink App on your device. In the journey of using Starlink Internet, the Starlink App is certainly going to be your most integral companion.
Will You Need Expert Help For Your Starlink Setup And Installation?
Absolutely not.
In fact, this is one of the things I really admire about Starlink.
The process for setting up is fairly simple, and upon following instructions, one can easily do it and be all set.
Starlink will send over the kit to you once you order, and once you receive it, you will be able to set it up easily in a short time.
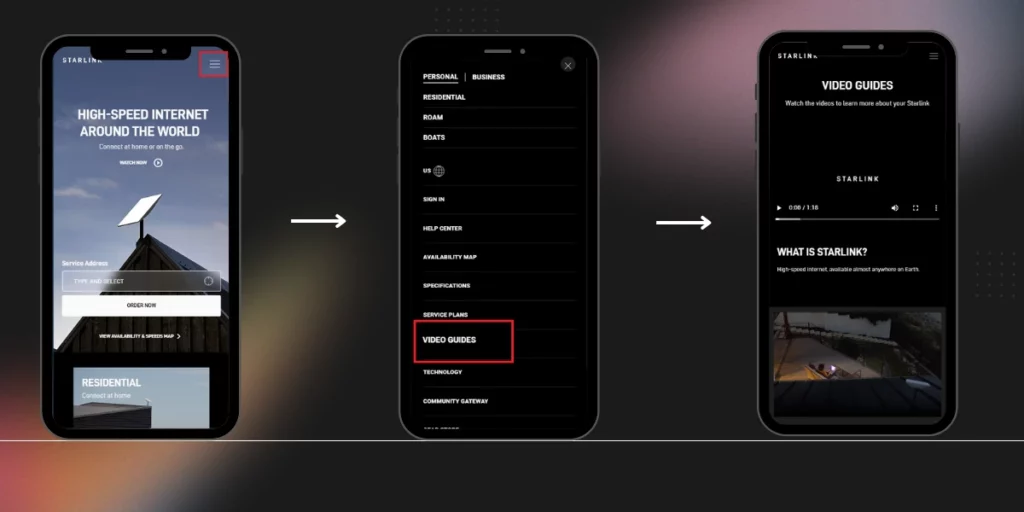
You can also check out the official tutorial video from Starlink, where they guide you step by step.
Now, for the sake of starting from scratch, I am assuming you just got your Starlink kit and you have not opened it yet.
What Is Inside The Starlink Kit?
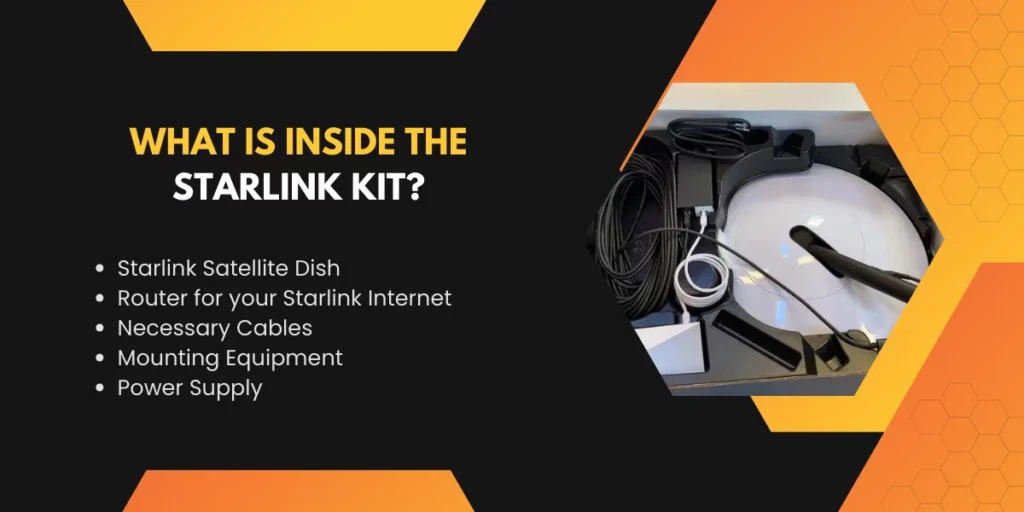
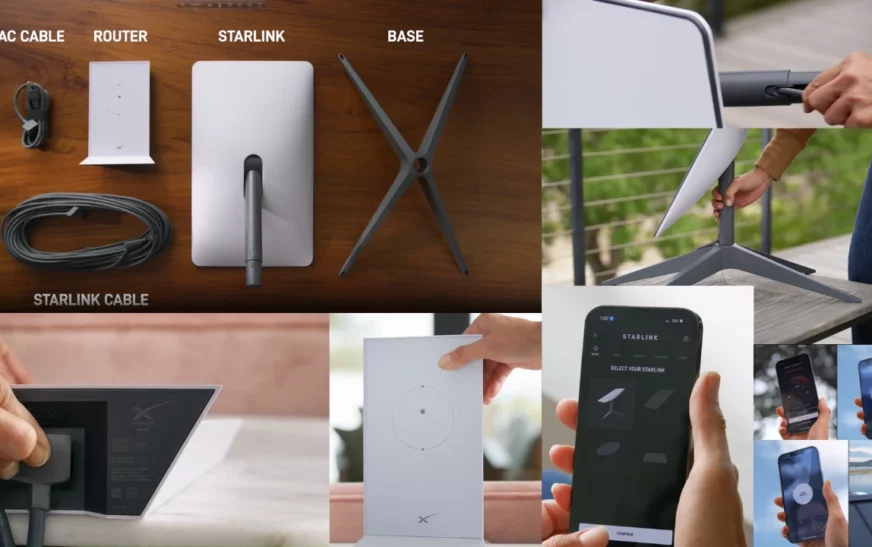
When you open your Starlink Kit, you will find the following things:
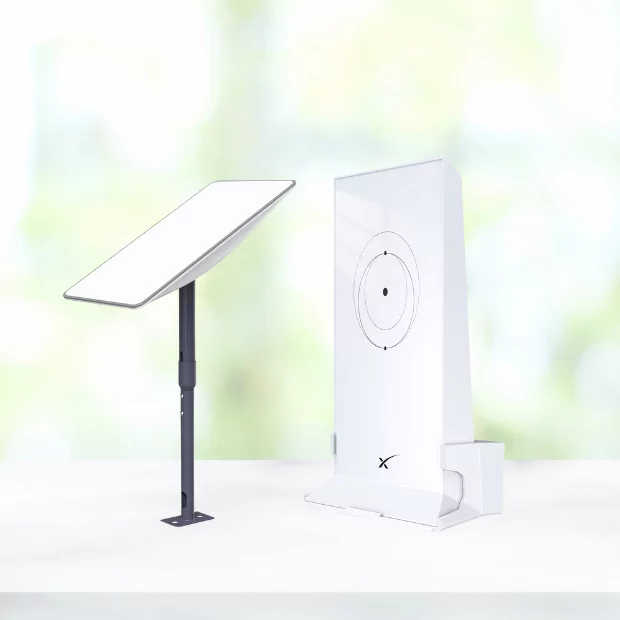
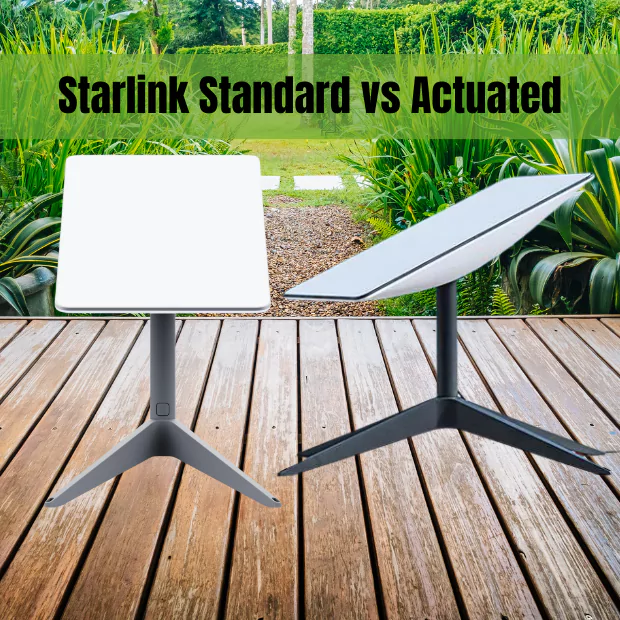
- Starlink Satellite Dish
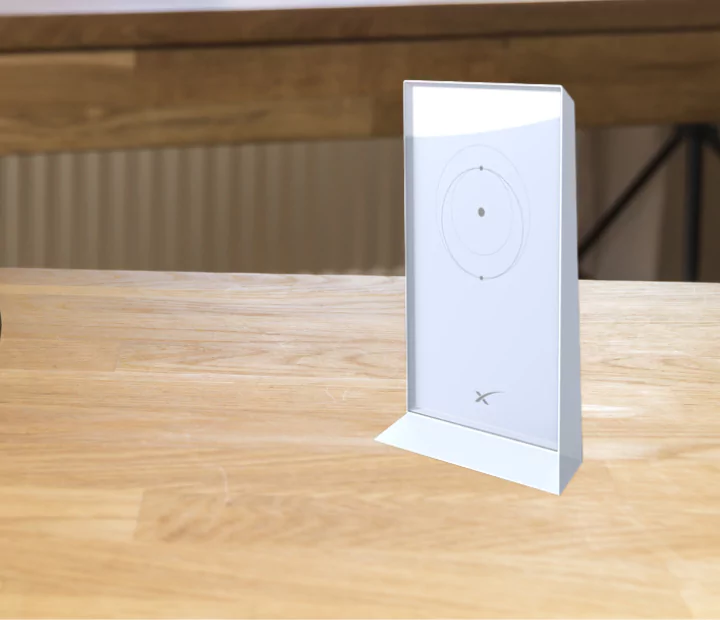
- Router for your Starlink Internet
- Necessary Cables
- Mounting Equipment
- Power Supply
Please make sure you open the kit carefully.
Everything inside the kit is critical for your Starlink Internet Setup Process.
Now, you have unraveled your Starlink Kit.
You have all the necessary weapons to initiate your setup process.
So, let’s get rolling!
DO NOT FORGET TO DOWNLOAD THE STARLINK APP.
PHASE 1: Finding The Right Spot
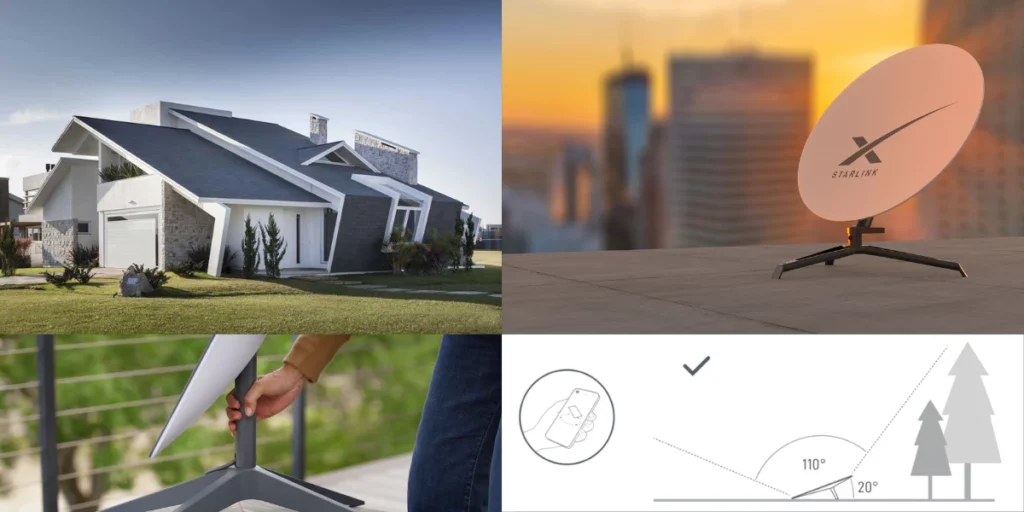
When it comes to Starlink Internet, ensuring a proper location for the device is very important, and I certainly cannot overstate how pivotal this is.
To ensure maximum output in terms of performance, there should be 0% obstruction between Your Starlink and the Satellite.
Minor obstructions could also affect your speed.
Luckily for you, the Starlink App will help you with this.
Through the app, you will be able to locate where you will get obstructions and where you won’t.
There must be a clear sky view from your Starlink Satellite dish.
You could set it up on your rooftop or similarly elevated spots. But do make sure about having a clear view of the sky.
Now, once you fix the spot that you want, we can move to the next phase.
If you still want to know more about the “Obstruction” aspect, I would suggest you go have a look at this.
PHASE 2: It’s Time To Mount
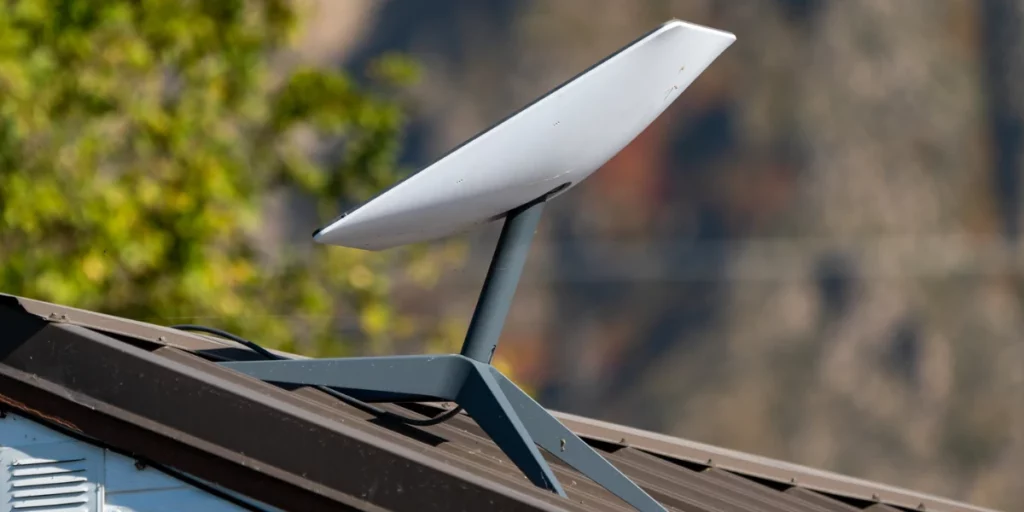
This means permanent installation of your Starlink dish at a particular spot.
Wherever you do it, as we mentioned before, make sure you have a clear view of the sky. The higher you mount, the better your chances of receiving a better connection.
But you do have to make sure you install it close to a power source for plugging.
There are multiple ways for you to mount. To elaborately know about them, click here.
It is imperative that you make sure that the mounting is done firmly to protect your satellite dish during extreme weather conditions.
Also, you can always purchase additional mounting accessories you might need through the “Starlink Shop,” available in the Starlink App or the Starlink website.
PHASE 3: Connecting To The Power Supply
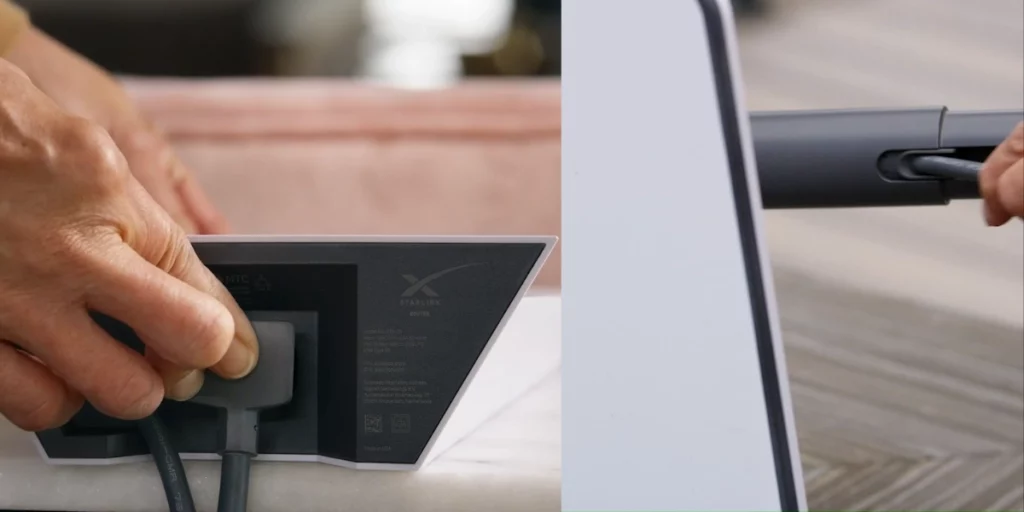
You have already done the hard part in “Phase 2.”
In this phase, you just need to take the cable and connect the power supply to your Starlink dish.
PHASE 4: Placing The Router
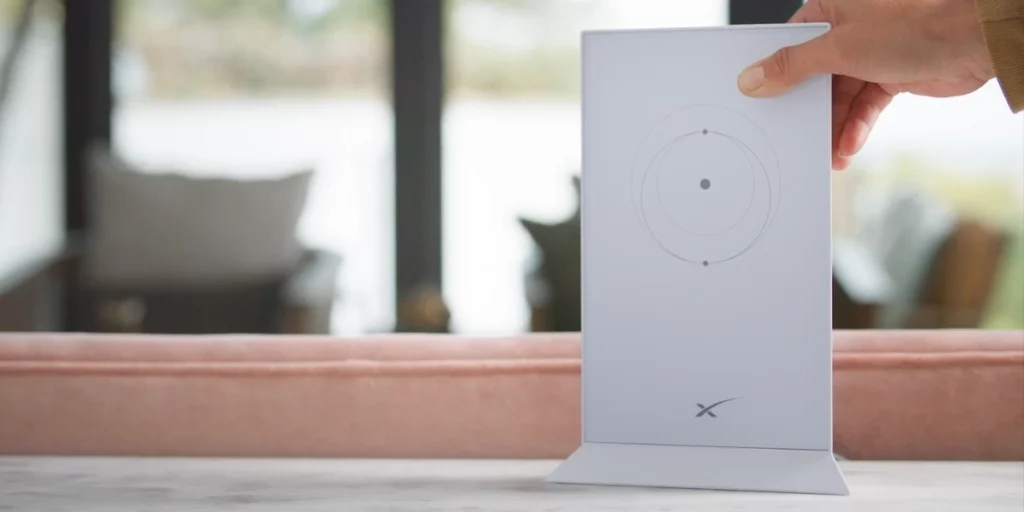
Indoors, most likely at your place now you have to fixate on a spot where you want to place your router.
I will suggest placing it somewhere in the center to ensure proper signal circulation across the house.
PHASE 5: Connecting The Router Cables
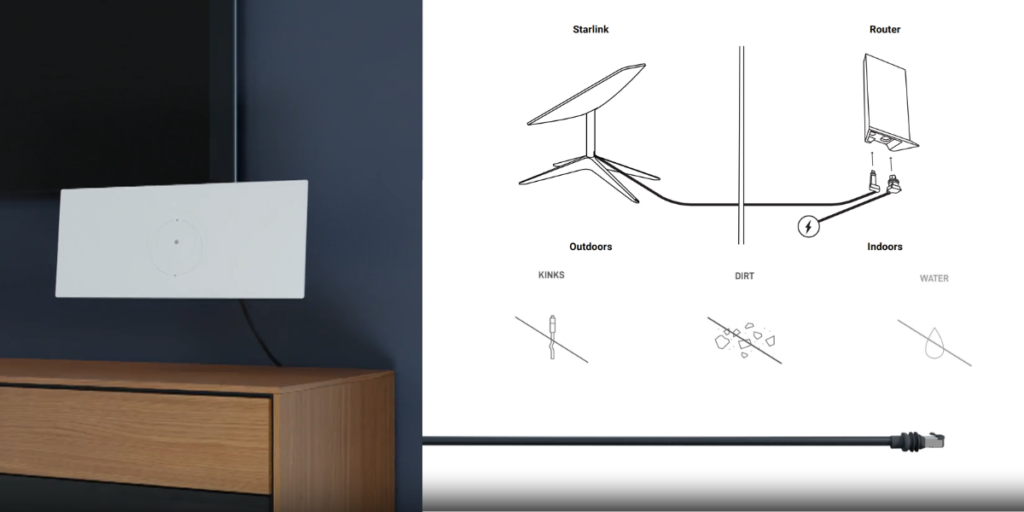
Firstly, connect the cables of your router with the power supply nearby.
You will also have to oversee that the proper cable connection between your router and your satellite dish.
PHASE 6: Time To Power Up

All your equipments are in place now.
Through the Starlink App, activate your Starlink dish. Make sure that the power outlet is turned on.
Note that it will take some time for your Starlink Satellite dish to power up and initialize.
You will see that it will automatically adjust and move around slightly to locate the satellite signal.
During this time, Starlink has instructed all of us to not manually adjust the satellite dish.
After your satellite dish establishes a signal from the satellite, eventually it will be relayed to your router and activate your internet connection transmission.
PHASE 7: Activation
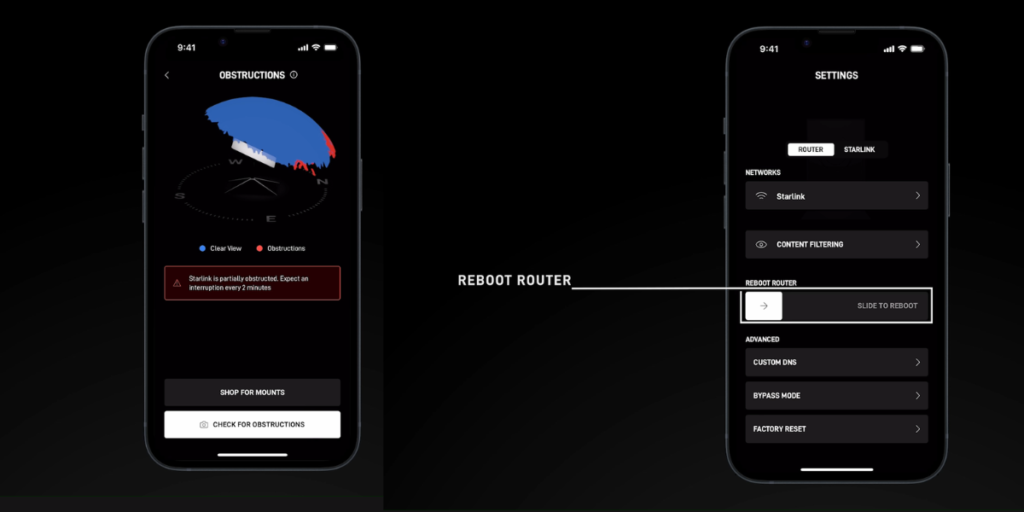
Now, all that remains for you to do is activate your Starlink internet and be done with the setup.
This is the phase you fully need to rely on your companion.
Confused?
I am talking about the Starlink app.
Using the app, very easily you will now be able to activate the internet.
Firstly, head over to the WiFI settings of your device.
Locate “Starlink” there.
It is the default name of your Starlink internet by the router.
Get connected.
You now need to secure your Starlink internet connection.
Using the app, you can rename the WiFi network. You can also create a new password.
Let me guide you.
Enter settings in your Starlink app. Click on router.
Now, rename and create a password for your WiFi.
Easy, isn’t it?
That’s it.
You are now officially connected, and your Starlink Internet is active.
You have successfully completed setting up and installing your Starlink internet.
To check the state of your network and other relevant details, toggle in the Starlink App.
To learn how, navigate here.
What to do if the setup has not been successful?
- Verify whether you have ensured a clear view of the sky or not. Recheck through the Starlink app.
- Re-examine if all cables have been plugged in properly or not. Make sure the powers are on.
- Be notified of the fact that it might take around half an hour for your Starlink to get online.
- If nothing works and you are unable to connect, reset your Starlink router.
- Ultimately, if none of these steps are working, please contact Starlink support.
Summary Of The Setup And Installation Process:
- Download the Starlink App.
- Find the right location to place your dish, somewhere with no obstruction
- Mount your Satellite dish (the higher the better)
- Connect the cables of the satellite dish and power outlet.
- Place the router and similarly connect the relevant cables.
- Make sure to connect the router and satellite dish through the provided cable.
- Poweap the satellite dish through the app.
- Wait for a few minutes for the dish to connect to the satellites
- Activate the internet and secure it through your phone.
Look at that, mate!
Now, you know how you can setup and install your Starlink Internet.
I do acknowledge the fact that you still might have some questions in mind.
So, what are you waiting for?
Ask me through the comment section below, and I will get back to you.
Till then, enjoy using your Starlink Internet!


