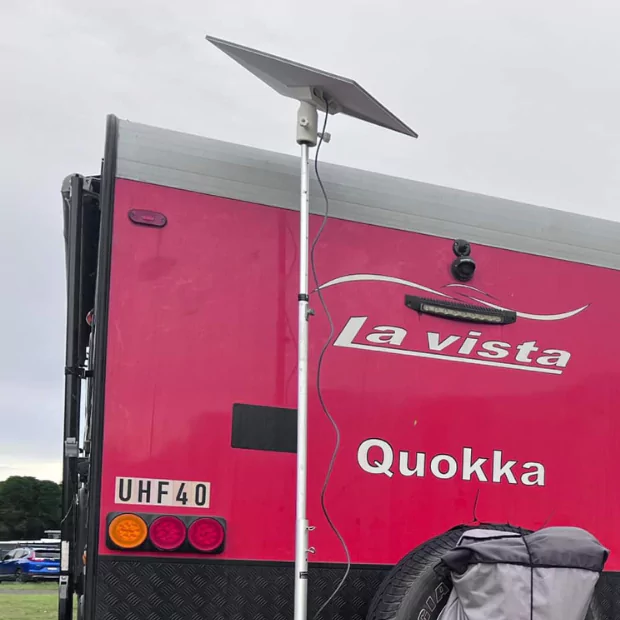
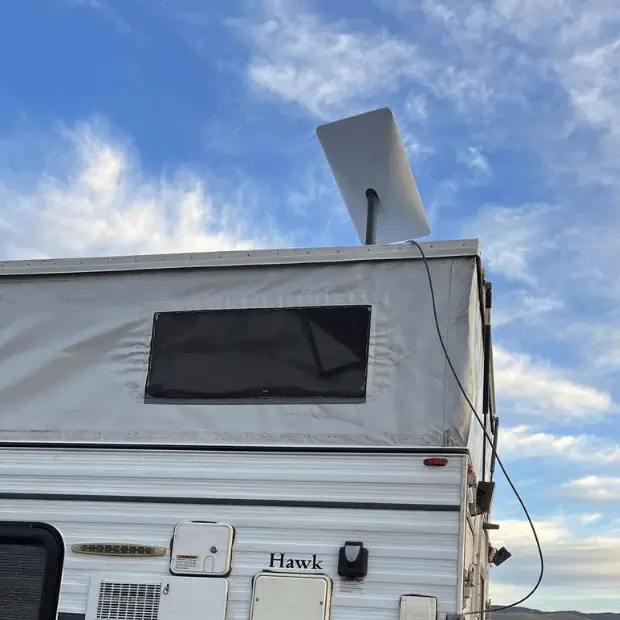
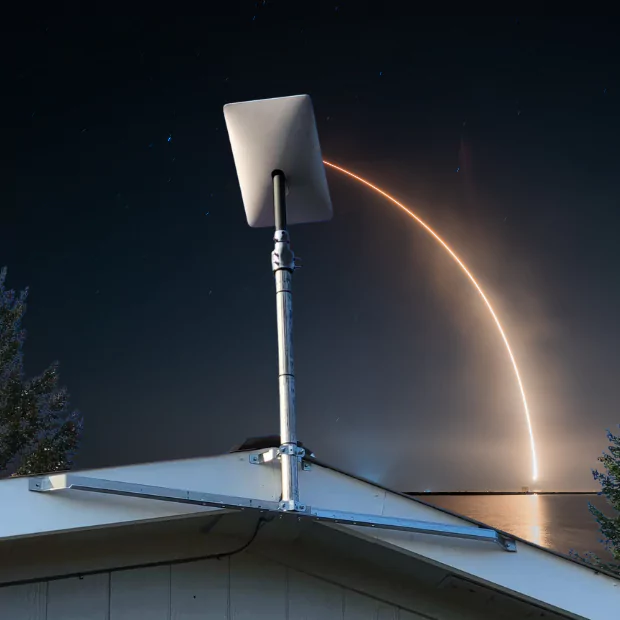
If you opt for the Starlink Gen 3, it’ll be the best decision you’ve ever made.
Why?
Because, apart from its faster speed, better coverage, and multiple mounting options, the dish requires no professional hand to install it. So, in the initial transformation stage, there’ll be no hassle.
Just be aware of the right measurements, tools, and location; the following guidance will ensure the rest.
Before we dive into further details, I would suggest you go through our review of Starlink Internet, to know more about it in general,
Key Notes:
- No need for any modification.
- Wrap-around protection around the dish.
- Versatile mounting options.
- 12V conversion ready.
- Especially suitable for wall mounts.
How to Install Pivot Mount
The Starlink Pivot Mount installation and review are discussed.
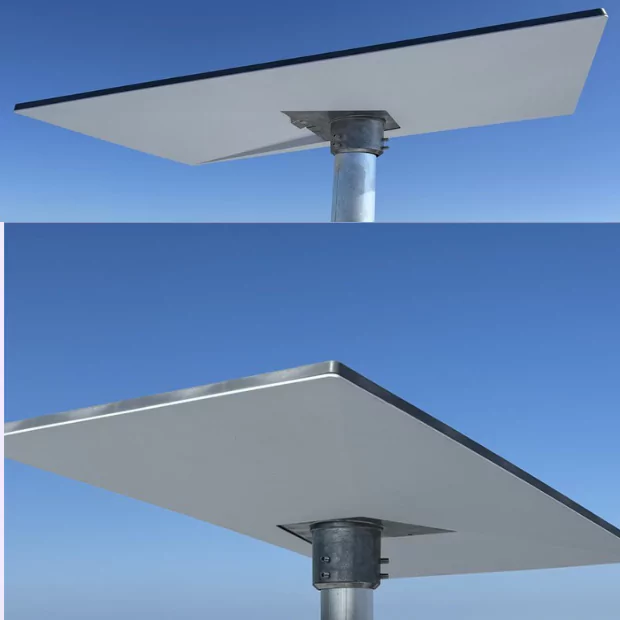
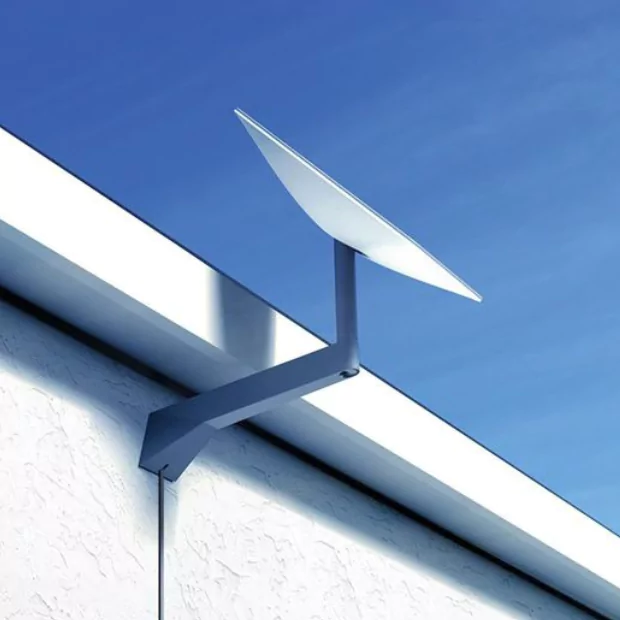
Starlink Gen 3 Mount: How to Install
The Gen 3 Installation process appears to be easy since it comes with the necessary tools. It also has an instruction sheet, though it’s not a very detailed one. Yet, here, we’ll be as detailed as possible to make things easier for you.
Except for the tools in the kit, here’s what you need besides:
- 1/4” drill bit
- Drill
- Marking pencil
- 9/16 or 14mm socket wrench
- Level
Step 1: Find A Good Place to Mounting
First thing first, download the Starlink app and scan for the potential mounting location. A good mounting location determines a good mounting process. Stand where you want to mount it, on your roof. Use the app and it’ll find the place for you. The higher the place, the more suitable it becomes. So, the peak of your roof would generally be the ideal place.
While finding the place, you must ensure no long trees or buildings block the sky view. If your roof has blockages, find a new mounting place. It could be on your garage roof.
If you’re planning to mount it on the wall, there’ll only be 4 inches of overhang allowed for the dish. A roof that extends more than 4 inches beyond the wall requires a fascia board. ensure the mount is high enough at the wall. And the dish will be 11 inches away from the mount.
13 mounting options
Step 2: Mark the Pilot Hole Spots
After you select the place, hold the mount there and mark the locations of the two holes on the back of the mount. Hold the mount level while marking the spots with a marking pencil. If you’re in a wall, a stud finder would help find the spots for you. For the fascia board, having solid wood behind other materials on the fascia is important.
Step 3: Drill the Pilot Holes
Now that you’ve marked the spots, use a 1/4-inch drill bit to create two pilot holes. Then double-check if the holes are in position by holding the mount again on the surface. If they’re right, proceed to the next level. If not, then take a correct measurement, remark, and drill new holes.
Step 4: Secure the Mount
After drilling the holes, hold the Mount upon them and see if they align with the mounting holes. If they do, mark the mounting holes correctly this time with the pencil, and drill again. It would be good if you slightly move aside for the second time holes to avoid the fragility of the surface.
Once you get the pilot and mounting holes perfectly aligned, move on to the next task. First, get some silicone sealant into the holes and also around them. Then put half of the lag screws into the bottom mounting hole with the help of a socket wrench. When most of the lag screws’s part is in the mounting hole, slide the mount in and align its hole with the pilot hole.
Now, hold the mount in place and snug down the bottom lag screw while keeping the mount level. Then again, install the top lag screw and tighten them ensuring the Mount is nice and even.
Related to
Step 5: Assemble the Mast
Get down from the roof and set the mast to the mounting plate. While doing so, you’ll find four locking tabs to snap. They’ll be so hard to detach. So, only make them lock when you’re completely ready to install the mount.
Now that you’ve installed the mast to the mounting plate, take any end of the Gen 3 cable and put it through the bottom slot of the mast. Take the cable all the way to the top of the mounting plate and exit it through the cable channel. You’ll find the exit gate quite nice as it’s the most narrow side.
Step 6: Install the Mast Adapter
Installing the mast adapter would take a few consistent steps one by one as follows:
- Remove the kickstand from the Gen 3 dish.
- Hold the tab with one hand and pull up.
- Use your other hand to pull the kickstand straight out.
- Find the cable connector.
- Take the threaded end of the Starlink cable that was through the mast.
- Now, insert this into the dish connector keeping the tab on the cable connector pointing up.
Next, you’ve to attach the mounting plate to it. Slide it into the place without pinching the cable. It should snap and lock securely. Lastly, route the remaining cable out through the notch near the bottom of the mast.
Step 7: Install the Mast on the Mount
Get the remaining end of the Starlink cable and take it to the mounting place. Put it through the top of the mounting hole and pull it to the bottom of the mount. If it’s done, carry the dish up to the mount.
Then take the Starlink dish up to the mount and insert the mast into it. If it doesn’t fit easily, you can loosen the knob. Now, pull any extra cable slack down down through the mount end. After pulling all the cables, install the cover plate. Make sure the cable sits in the cover plate’s notch quite nicely.
Step 8: Route the Starlink Cable
Now’s the time to route the Starlink cable. You can do this easily using the cable routing kit or existing holes. The connector needs a ¾” opening to fit through. While passing it through the wall, be cautious about not damaging it.
The Gen 3 standard kit comes with a 50’ cable. Yet, the 150’ is also available if you need it. You can loop any extra cable either inside or outside the house. Creating a drip loop outside where the cable enters is a good idea though as it’ll prevent water from running along the cable into your house.
Step 9: Boot up Starlink
Booting up Starlink will take two plug-ins and 15 minutes of your patience. Plug the power supply, Statlink cable, and AC cord into the Gen 3 router. Then wait for 5 to 15 minutes until the dish boots up on its own.
After you boot up Starlink, connect it to your mobile and set up your wifi name and password.
Then go to the Starlink app and log into your profile.
Tap the top right corner and there you’ll see the Online status.
By any chance, if it shows offline, then get back to the troubleshooting guide.
Review
Starlink Gen 3 Mount: Short Review
People have both positive and negative impressions of Starlink Gen 3 Mount. Those, who feel good with it always praise the easiest method of its mounting. Also, it has a simpler design than its previous version. The secured snap-in mechanism is another aspect of its applause. With a low-profile, lightweight appearance, the Gen 3 has become a favorite mounting option for many.
But there are also a few complaints about the need for more motorized change. Users need to adjust the dish angle manually with Gen 3. People also criticize its pipe adapter for being so flimsy.
Pros
- The kit includes all mounting hardware.
- A rotated and lockable mast makes a simple aiming process
- Each component is of quality materials
- Clean, easy, and professional-looking installation process for amateurs.
- Snaps into its place
Cons
- It can only stick out from the wall by up to 4 inches
- Though it won’t be an issue, the mount remains a bit shaky even with the tight knobs
- Can’t add extra height as there’s no mast extension
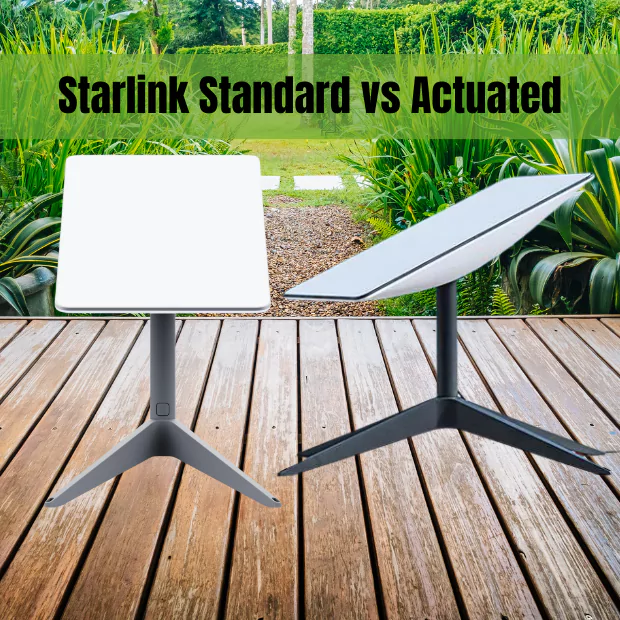
Starlink Gen 3 and Gen 2 models, focusing on standard and actuated models
The Starlink Gen 3 Standard and Actuated models are compared based on design updates, setup processes, and enhanced performance features.
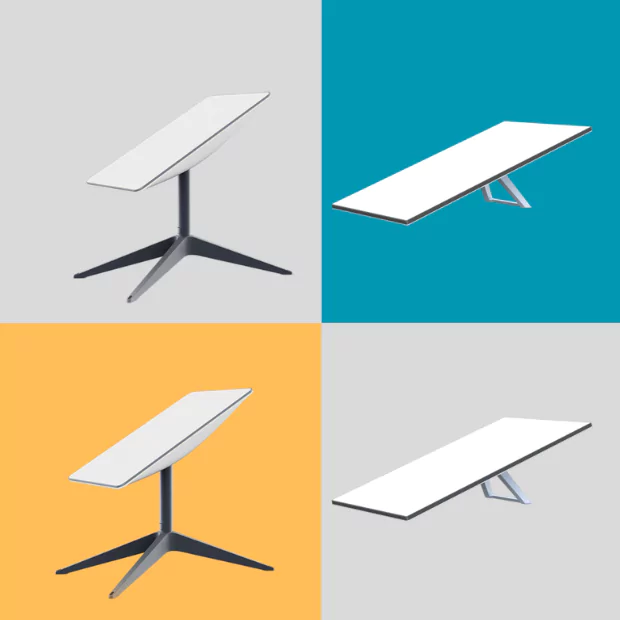
| Feature | Starlink Standard | Standard Actuated |
| Dimensions | Slightly taller and wider, but it is more compact without an integrated mounting pole. | Taller and narrower, featuring an integrated mounting pole for automatic alignment. |
| Width | 15.07 inches | 11.9 inches |
| Setup Process | The device features manual aiming with app guidance and a detachable kickstand. | Robotic aiming with automatic alignment towards the northern sky |
| Mounting Options | Fixed mounting accessories offer a more versatile installation option. | The integrated mounting pole is primarily designed for automatic alignment. |
| Manufacturing Cost | Likely cheaper due to removal of robotics | Higher due to robotic aiming mechanism |
| Retail Price | $599 | $599 |
| Field of View | 110 degrees | 100 degrees |
| Power Consumption | 75-100 Watts | 50-75 Watts |
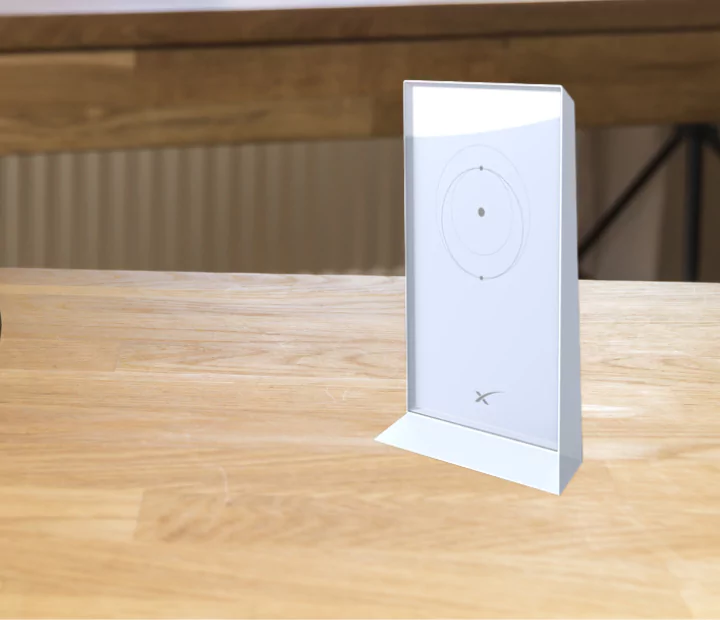
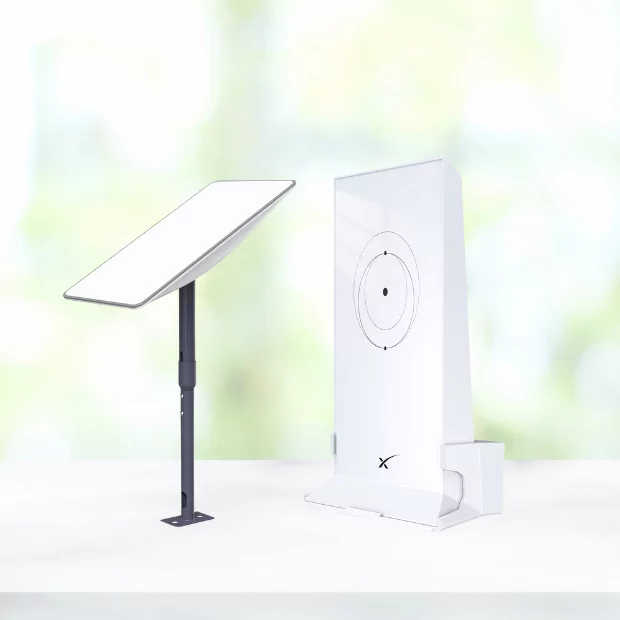
| Compatible Router | The third-generation device features Wi-Fi 6 capabilities and integrated Ethernet ports. | The capabilities of previous generations may vary. |
| Cable Design | The design has been redesigned to enhance durability and reduce the risk of failure. | Original design, prone to failure |
| Power Supply Integration | The router has a separate component and does not have an integrated power supply. | Often integrated with the router |
| Intended Use | Recommended for RVs, nomads, campers, and residential installations. | Primarily residential installations |
| Availability for Order | The initial testing was restricted to select testers in the USA, with a wider availability to be determined. | Widely available prior to the launch of the Standard model |
Summary
From stud finding to tightening the knob, Gen 3 gives you an easy task for its installment process. All you have to do is find a place where the sky is clear for it and follow our instructions. Then follow our guidance step by step, and you will finish the procedure before you know it.

