Once you choose Starlink to be your broadband connection, you already know, there are several criteria to go through.
From installing the dish to getting the signal, everything must go perfectly, including the dish angle and its placement. But fear not, as Pivot mounting is the easiest way to go.
With the Starlink app, you get the first and last thing done as in selecting the perfect location and checking the signal.
All you have to look after is settling the dish utilizing the right tool you have. Smartlink provides all the major instruments so that you don’t have to buy on your own.
Just arrange some basic tools from your garage and do as we discuss in the following.

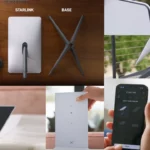
13 mounting options
Starlink Pivot Mount: How to Install It
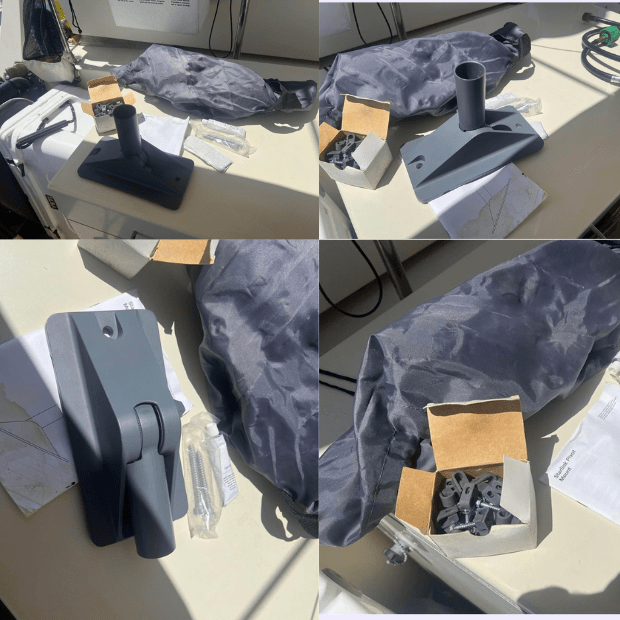
Even if you have never done this before, you’ll install it easily like a pro. Just make sure the weather is right, and arrange the necessary tools to get things started. The kit that Starlink provides will have the following utensils:
- Carrying bag
- 2 Lag screws
- 40 Wall clips
- Sealing tape strips
- Sealing tape squares
Along with these appliances, you need to gather a couple of more basic tools as well, such as:
- Socket wrench
- Stud finder
- Drill
- 5/32” drill bit
After having all the things near you, you can start the procedure.
Step 1: Locate A Suitable Area
The selected area can’t have any obstruction between the dish and the sky. If there are any long trees or your roof is in between narrow buildings, choose not to proceed.
Open the Starlink App and scan the suitable location for it.
After determining a place, check if there are any TV dishes or electric mains around. Otherwise, they would interfere with the signal.
Step 2: Look for the Stud
After having a perfect place selected, disconnect the dish from the wall socket. Turn the knob counterclockwise to loosen the mount arm. Locate a place using a stud finder and put the mount over the selected roof’s stud.
Step 3: Mark and Drill
Now, take a pencil and mark the selected areas with two circles. Now drill the marks. Shape two large balls using the sealing squares, and position them over the holes while ensuring the edges are covered. Then, apply two strips of sealing tape over the holes where you plan to place the mount.
Step 4: Place the Mount
After finishing the mentioned procedure, move on to placing the mount’s hole on the drilled holes on the surface. The arrow point should be toward the ridge of the roof. Now, drill in the lag screws while holding onto the mount. Try to drill them 90% max. Then take a socket wrench to tighten the lag screws in place with a quarter turn.
Step 5: Adjust the Arm
Change the arm position of the mount to five degrees vertical. Then lock the arm in place by turning the knob clockwise.
Step 6: Route the Starlink cable
To route the cable, you have to plug the cable into a power source first by routing it to the roof. Use wall clips to route the cable on the wall through each one. Now, get your dish inside the carrying bag and head to the roof where the mount is. Plug the cable into the dish and set it on top by putting the Starlink mast inside the middle of the mount.
Step 7: Check Your Dish
The last step is to check the dish by turning it on. You can also check it on the Starlink app on the speed option. Once clicking the option, the app will show you the streaming speed of the dish.
Related to
Starlink Pivot Mount: Short Review
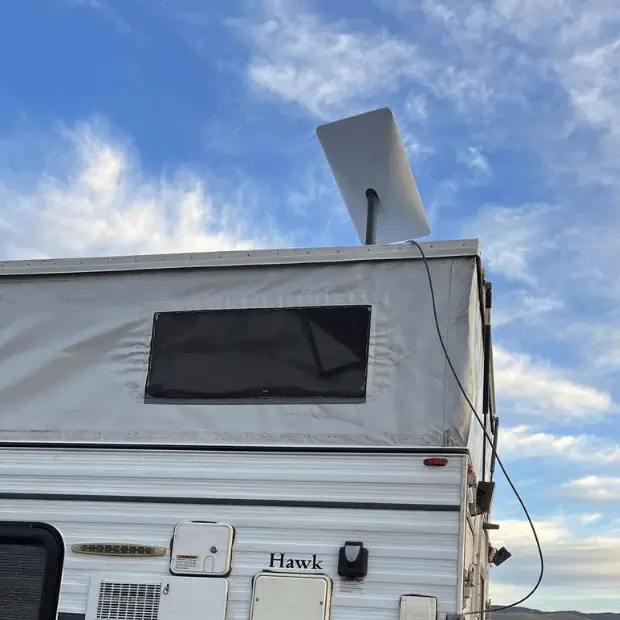
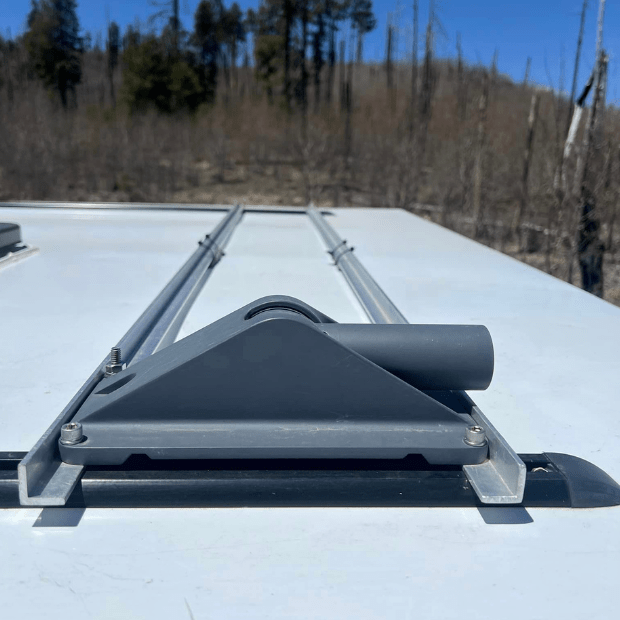
Pivot Mount is designed in a way so that it attaches directly to a shingled roof. Its mounting tube is adjustable to any roof angle virtually. This mounting method supports any current devices along with the devices to come. It’s a modern method you can say.
Due to its mounting plate and adjustable tension dogbone design, you can get one-handed 360-degree infinite adjustability no question asked. Its reliable, secure design and user-friendly functioning have made it a popular choice not only in Europe but also in the USA.
Pros
- 60-degree tilt angle
- Works perfectly on steep roofs
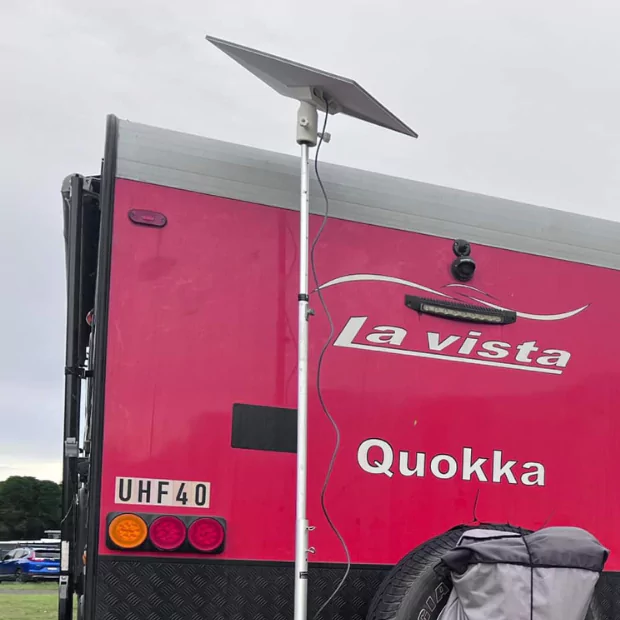
- Can be a stable fixture for Starlink RV or Starlink portability
- Comes with all the necessary tools to drill any exterior
- The kit includes a handy bag that fits the dish as you carry it up to the roof
Cons
- Doesn’t work on clay, tile, or slate roofs
How to Find the Perfect Location for Pivot Mount
While finding a perfect location for Pivot mounting, ensure no obstruction blocks the sky view. Trees, poles, or even other buildings are the most common barriers in this case. So, the best place for Pivot Mount is at the top of your roof.
Try to set it as high as possible so that nothing obstructs the signal. The ridge, chimney, eave, or any roof surface is ideal for this. But they are not always the best location if there are high trees around.
In that case, you may want to use a pole or a tower to get your dish settled. Depending on your place, you can take any solution you want after consulting the providers or professionals.
[Tips: Download the Starlink App to Scan the best place for Pivot Mount].
Things to consider while Installing Pivot Mount
Several things can hinder the smooth installation of the Pivot mount. You must be aware of all of them. Otherwise, there is the possibility of temporary or permanent negative outcomes.
- Avoid installing it in stormy and windy areas because the mount is unsuitable for such conditions.
- Always read the instructions regarding its installation environment regardless of whether you plan to install it indoors or outdoors.
- While mounting you must shut off the dish to prevent electrocution.
- Be cautious while drilling.
- Overcast conditions may obstruct the checking process of the correct alignment of the dish. So, start mounting when the sky is clear.
- Download the Starlink app to determine the right direction of the dish antenna.
Pivot Mount vs Other Mounting Options
Compared to other mounting options, the Pivot mount is always on top regarding its angle adjustment for better signal reception. It’s versatile as well along with its flexibility with most Starlink dishes.
| Mounting Option | Pivot Mount | VS | J Mount | Ridgeline Mount | Standard Wall Mount |
| Features | Allows precious angle adjustment for optimal signal reception. Compatible with various Starlink dishes. | vs. | Flexible option for open areas. Can be used on poles or walls. | Suitable for Actuated and High-Performance Gen 2 Starlink dishes. Mounts on roof ridgeline. | Designed for Gen 3 standard Starlink dish. Suitable for wall attachment. |
| Benefits | Easy Installation, and wall placement. | vs. | Versatile placement. | Elevated position, clear view. | Easy installation wall placement. |
| Downsides | Limited angle adjustment. | vs. | May require additional hardware. | Roof installation is required. | Limited angle adjustment. |
| Cost | $74 | $47.30 | $250 | $55 |
[Note: The prices mentioned here may vary depending on your locations, dealers, and time].
Recent Asked Questions
How Much Does A Standard Pivot Mount Cost?
If you shop directly from the Starlink online shop, a standard Pivot Mount will cost you $74 with all the necessary tools included. The kit contains the mount along with everything you need such as cable routing clips, lag screws, a mast, an adapter plate, and sealant tape.
Is Pivot Mount Equivalent to Volcano Mount?
Quite similar, but Pivot Mount is more versatile. For example, Pivot Mount offers more adjustments to keep Dishy’s stem vertical no matter your roof pitch.
Are the Pivot Mount and Flashing Mount the Same?
Pivot and Flashing mounts both go on the roof but the Pivot mount is less intrusive. For flashing Mount, you need to use a utility knife to access beneath your roof shingles. Pivot Mount, on the other hand, is usable on its own.
Lastly,
This easily installable Pivot Mount will be a one-man job for you even if you’re an amateur. You just have to play your cards right while selecting the location, drilling the surfaces, and moving around the roof. If anything stops you in the process, feel free to ask in our comment box.
Some other sources may help you out! Read it!